Thursday, December 13, 2007
Refining the Big Picture
Writerly Wednesday

So - my apologies - I can't find the bleeping charger for the camera's special batteries so today will have to be sans photos. GRRRRRRRRRRRRRRRR.

Anyway.....

Last week I showed everyone the POV Summary post-its up to chapter three and how I got into a situation where the POV Summary didn't match the Plot Details. Then I rewrote the POV Summaries to better match the Plot Details.

Finish the POV Summary Post-Its
The next step is to continue through the rest of the chapter boxes and write the POV Summary post-its for each scene. I double-check each one to makes sure it agrees with the Plot Details.

I don't necessarily do this in order. Often I know the scene where a major revelation takes place so I'll put up the POV Summary for that scene, then I'll go back and decide what scenes need to take place to carry my story from the prior major plot point.

Evaluate the POV balance
The next thing I do is stand back from the storyboard and unfocus my eyes a little so I don't get caught up reading the words. I look at the entire storyboard to try to get a basic feel for the balance of different POV's in the story.

My stories are often a bit weighted toward the heroinne but I try to keep it pretty even. I've had a few times where the POV was heavily weighted toward one character or another and that often leads to readers feeling as if they are distanced from the character they don't hear as much from. They don't get as much of a chance to know that character from the inside out.

In those cases, I go back through the scenes and look for opportunities to change the POV of a scene.

I mostly write third person, so the rules for first person wouldn't really apply here, your POV is always one character. In the case of the first person story I plotted out, I instead used two shades of pink and one was external focus, one was internal focus.

Add Reference Notes
I'm very prone to forgetting things like eye color, etc. and because I don't want to page back through the document to look for the details, I create some Reference post-it notes. I use the lined 4x4 post-its and put these on the storyboard far enough below the last row of the chapters so that they don't visually interfere but where I can easily see them.

Start Writing
By now I'm ready to start writing this story. The plot is a lot clearer to me and I have a good idea where I'm going. Some people take the post-it notes for the scene they are working on to their computer but I take the whole board and prop it up near the desk.

Modify as You Go
Things still change during the actual writing of the story. At least every two chapters, I sit down and look again at where the story is going and whether I need to make changes to the storyboard. Sometimes I have items appear that are important to the story and I need to show them to the reader at least three times to make them memorable. I typically add little post-it notes for these to places they should appear.

I am careful, however, to not just let myself ditch the storyboard and go off on some tangent on the spur of the moment. If I start to think the storyboard won't work, I STOP writing and redo the storyboard in whatever new vein is important.

If I make decisions on things that I need to use later (appearance, family relationships,etc), I add those to the Reference notes.

Next week I'll talk about pitfalls I've found and things I've tried but this is the meat of the information. It's really not that complicated and there is no magic formula that works for everyone.

Labels: ,

Tuesday, November 27, 2007
Are There Points to Your Plot?
Writerly Wednesday

Preparation:
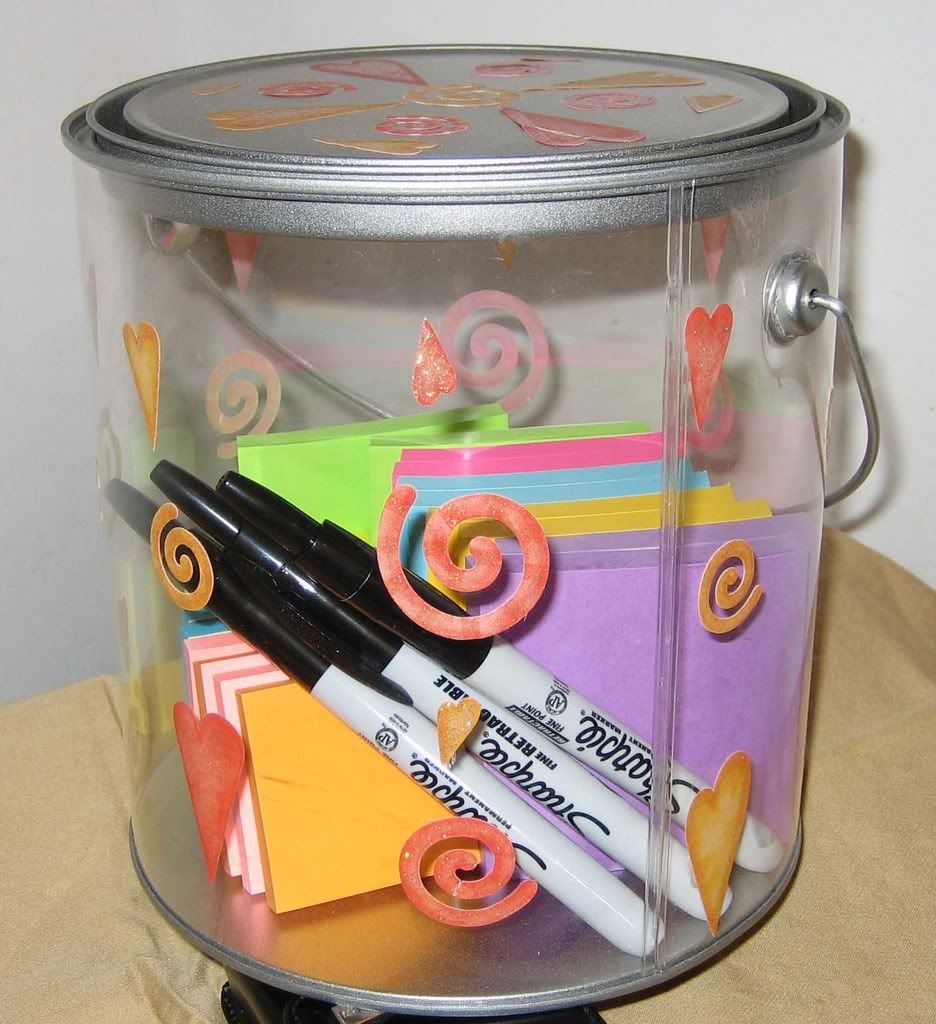
You need to have your collection of post-it notes and pens. I actually keep all mine in one of these clear paint cans people use for crafts. It has the advantages of looking nice, keeping them all together and clean and, best of all, the paint can is very hard for my six year old son to pry open!

Storyboarding Bucket

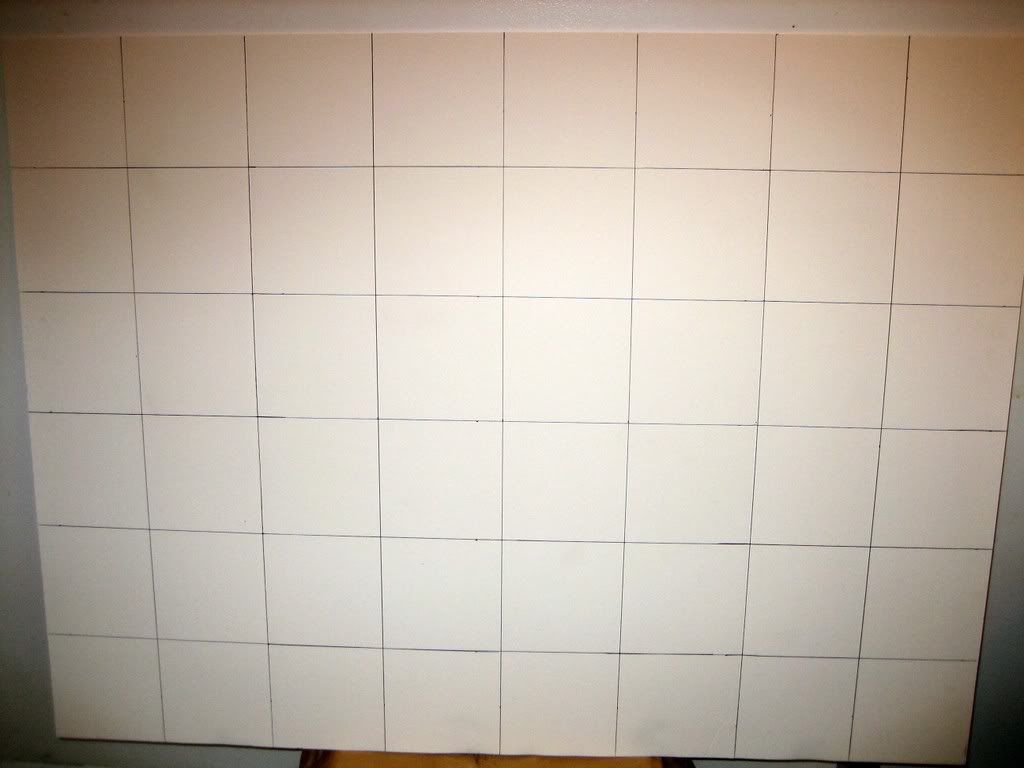
Then you need to divide your storyboard into chapter squares. I use a plain old wooden yardstick and a sharpie and divide it into six inch squares. It ends up looking like this when unfolded and propped up.

Empty Storyboard

Most of the time I won't show you the full storyboard. We won't use nearly the whole thing for my sample story and you'll want to read the post-it notes more than you'll want to admire the empty landscape.

Note that I don't number the squares. I know some people do but if I have several small stories, they may all live on the same board just in different areas. If it really bothers you, feel free to number yours or use a small post-it or even a flag for the numbers.

I also seem to work best at two scenes per chapter. So each square will have two scenes in it. One of the reasons I use the size post-it notes that I do is that two sets of one large plus four small ones will fit in each square. I like to be able to see it all at a glance, if I can. I don't like to stack them. The top half of each square is always scene one and the bottom half is scene two.

Setting Your Story Length:
Now is when you really have to decide about how long your story is going to be. This can actually be done several different ways.

Formula
If I know how long I want the story to be (or it's required to be), I can use a formula to determine the number of chapters. The basic formula is:

Desired Wordcount / Average words per chapter = number of chapters needed

So if I wanted a 60,000 word story and I know I write about 2,500 words per chapter, I would need twenty four chapters. Always round up.

Chapter Count
If you are doing a serial, you may know that you need to have a certain number of episodes or chapters. This is how Games Coyotes Play is set up. I knew I wanted the story to run for a year, so I knew I needed twelve chapters.

Mark the Start and End
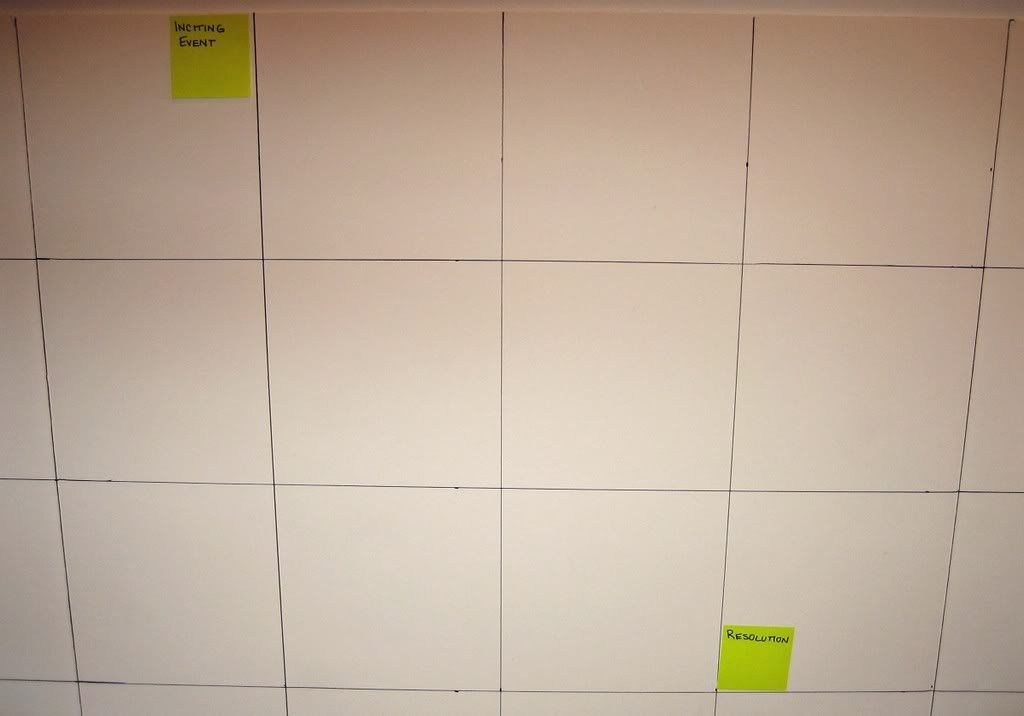
The next thing I do is mark the real start of the story - the Inciting Event. I always put it at the very beginning because I have a bad habit of trying to introduce too much backstory before the real story starts. It helps to keep me honest.

I stick a small post-it in my plot point color (it's really lime green, despite the pics) labeled "Inciting Event" on the board.

Then I put a plot point post-it labeled "Resolution" in the last square.

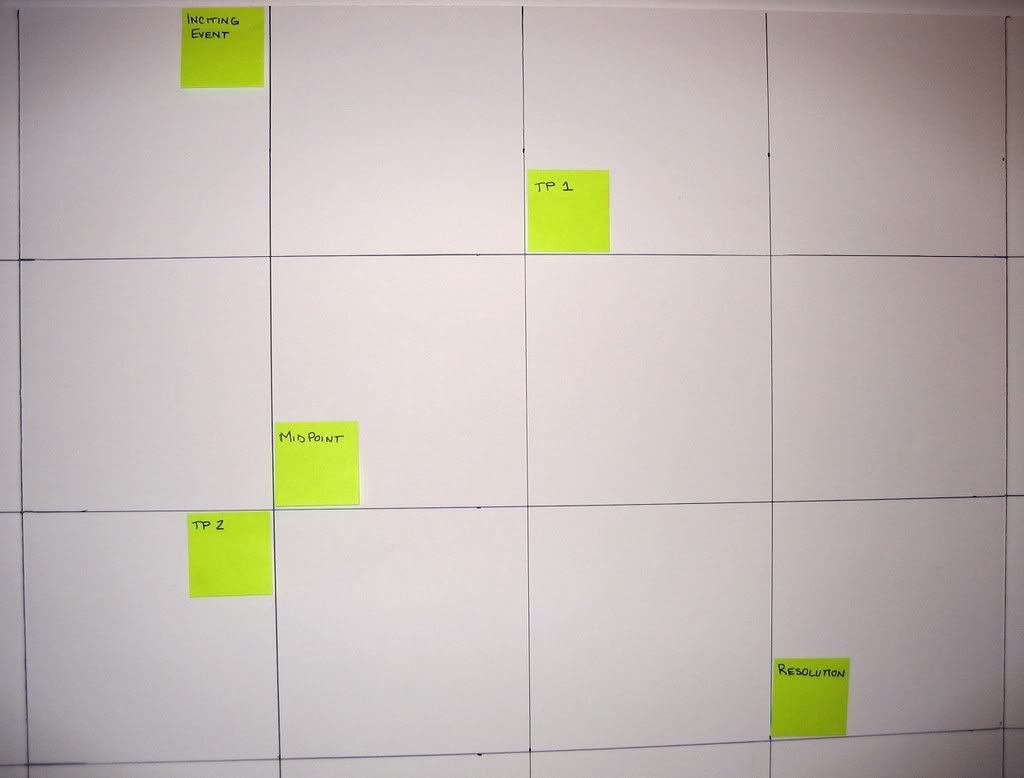
Now my storyboard looks like this:

Storyboard with Inciting Event and Resolution

Add Midpoint
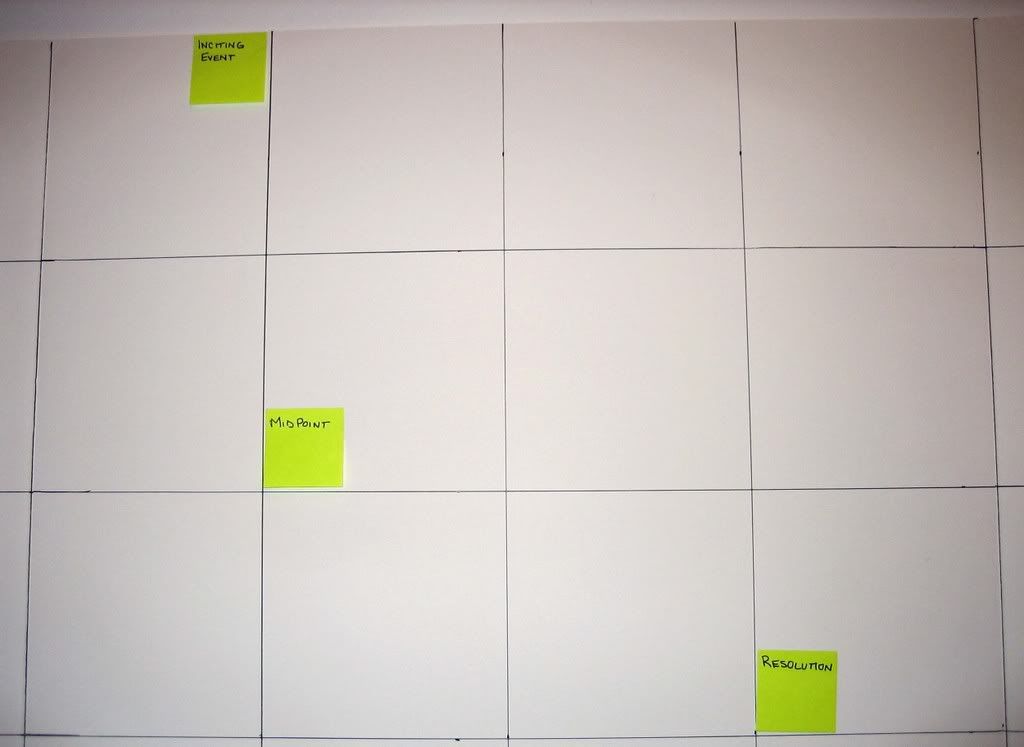
Now I find the middle of the story and put a plot point post-it labeled "Midpoint" in that square.

Storyboard with Midpoint

Add Basic Turning Points
Now, still with the plot point post-its, I add the other two turning points to create the basic story structure I use.

A "TP" post-it is placed midway between "Inciting Event" and "Midpoint". Another "TP" is placed midway between "Midpoint" and "Resolution".

Storyboard with Basic Turning Points

Make Pacing Adjustments
Now I step back and look at what I have and make adjustments if I think I need to. In the case of "Games Coyotes Play", I do need to.

This is a serial story so it has no real ongoing momentum to carry it forward. That means it can't tolerate much in the way of lag or really slow spots. When I look at the storyboard shown in the last step, I see a lot of empty squares. Those are points the story can lose momentum.

It can also benefit from the second half of the story moving faster.

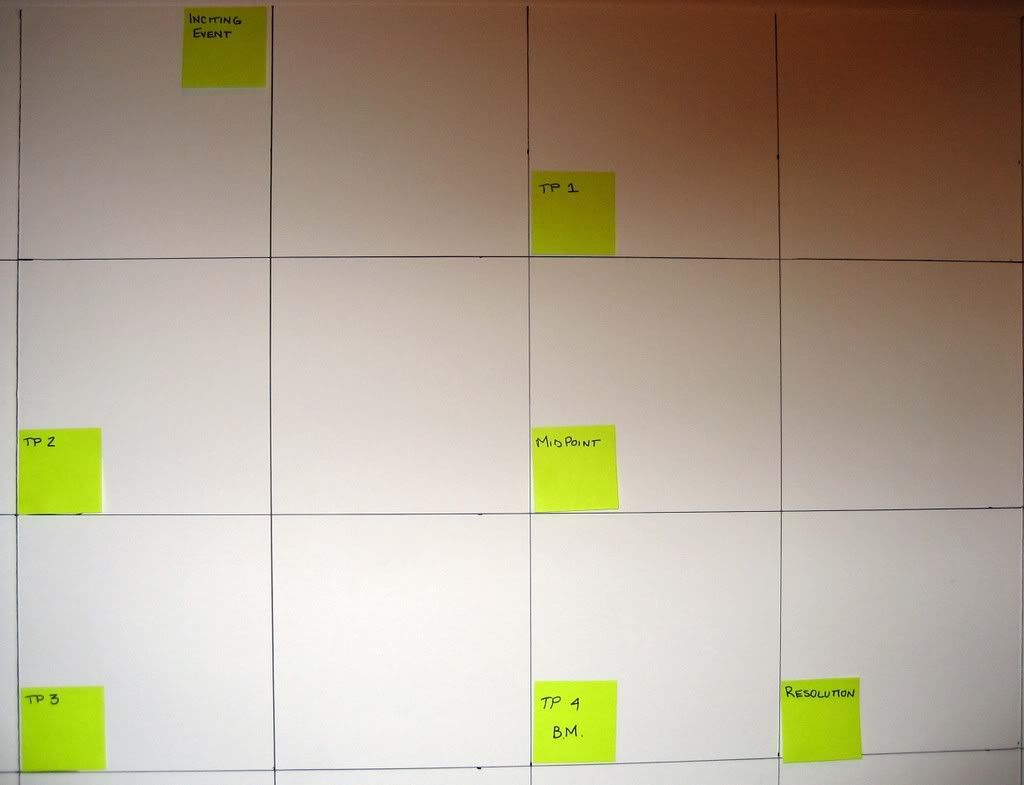
In this case, I decided that I needed to add two more turning points and shift the midpoint and the third turning point. You can see in this photo that the midpoint has shifted one chapter later and an additional "TP" is now inserted midway between the first "TP" and "Midpoint".

The next thing was to move the "TP" after the Midpoint to a scene earlier in the story and inserted a new "TP" post-it between it and the Resolution. But in this case I put it the chapter before the resolution and also labeled it the "BM" for Black Moment.

Photo Sharing and Video Hosting at Photobucket

Now when I step back and look, it's in better balance and not too bare. This is a good start to a well-paced story.

Come back next week for the next installment and I'll start to show the POV notes.

Comments and questions are always welome :)

Labels: , ,